Bitcoin on an Orange Pi (using Armbian)
There are some good articles on how to run a Bitcoin Core full node on a Raspberry Pi. But there are other pies, some of which have better performance. That’s great news, because the Bitcoin blockchain has grown a lot recently, so any extra CPUs, RAM and storage are most welcome.
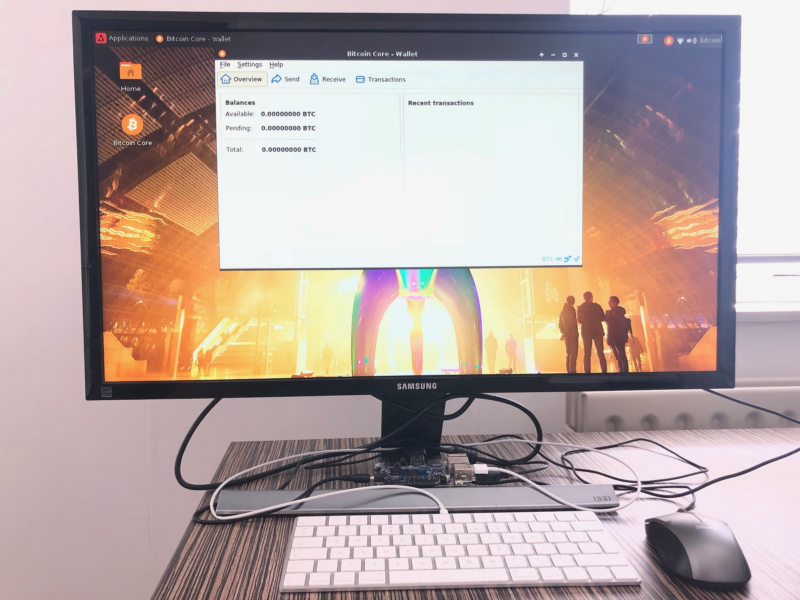
Orange Pi Plus 2E running Bitcoin Core, connected over wifi, USB keyboard and mouse, monitor.
Step 1 — Buy a pi
Of the dozends of brands and hundreds of configurations out there, I bought the following three pies:
- NanoPi Neo Plus2 (64-bit quad-core, 1 GB RAM, 8GB eMMC)
- Orange Pi Plus 2E (32-bit quad core, 2 GB RAM, 16 GB eMMC, HDMI)
- Khadas VIM2 Max (64-bit octa-core, 3 GB RAM, 64GB eMMC, HDMI)
This guide focusses on the Orange Pi because it supports an HDMI display, has a comfortable 16 GB of eMMC storage and appears to be much faster than than the NanoPi. It’s less than half the price of the Khadas. Finally, it works well with Armbian — see below.
I recommend a device with eMMC rather than just microSD. Bitcoin Core maintains a database of unspent transactions (UTXO). Every time a new block comes in, it needs to check if the coins spent in that block are actually spendable and then update which coins have been spent. That involves a lot of reading and writing, which is faster on an eMMC.
I also recommend at least 16 GB of (eMMC) storage. That’s not because of the blockchain — which can be pruned to as little as 500 MB by throwing away old blocks we no longer need. The UTXO set is several gigabytes and can’t be pruned, because without it you can’t verify if the transactions in a new block spend from existing outputs. Future UTXO set growth might crash your node if it only has 8 GB storage.
The more RAM the better, especially if you want to do more things with the device, though 1 GB might still work.
Be sure to check what’s in the box.
- connectivity: they all have wifi, but I wouldn’t count on that working immediately, so I suggest buying a UTP network cable, and make sure you can actually plug that into your model / router.
- keyboard interaction: some models have an HDMI port, so you can connect it to a monitor, in which case make sure you have an HDMI cable. You can then plugin any USB keyboard (e.g. the bluetooth Apple Magic Keyboard becomes a regular USB keyboard when you plug in a lightning cable).
- USB mouse (if you want a desktop)
- SD card writer (confusingly named “reader”); your computer might already have one, you’d be suprised…
- Power source: some devices need a 5V DC plug (of sufficient power), others use micro USB (usually 2A).
- Heat sink, probably… if the CPU gets too hot, it slows itself down (or worse). Bitcoin isn’t very CPU intense though , especially if you always leave it on— disk and memory speed is more often a bottleneck. A heat sink is sometimes included, e.g. the NanoPi-NEO heat sink.
Pretty much everything is made in Shenzhen and shipped from Hong Kong. If you live in the EU you may get slapped with VAT plus whatever arbitrary fee your local post monopoly charges to perform the admirable service of taking your money. Some companies ship from within Europe, which is faster and might end up cheaper.
Step 2 — Assemble a pi
IKEA time! Although the packaging material is plenty large enough to ship the device fully assembled, that wouldn’t be fun, would it?
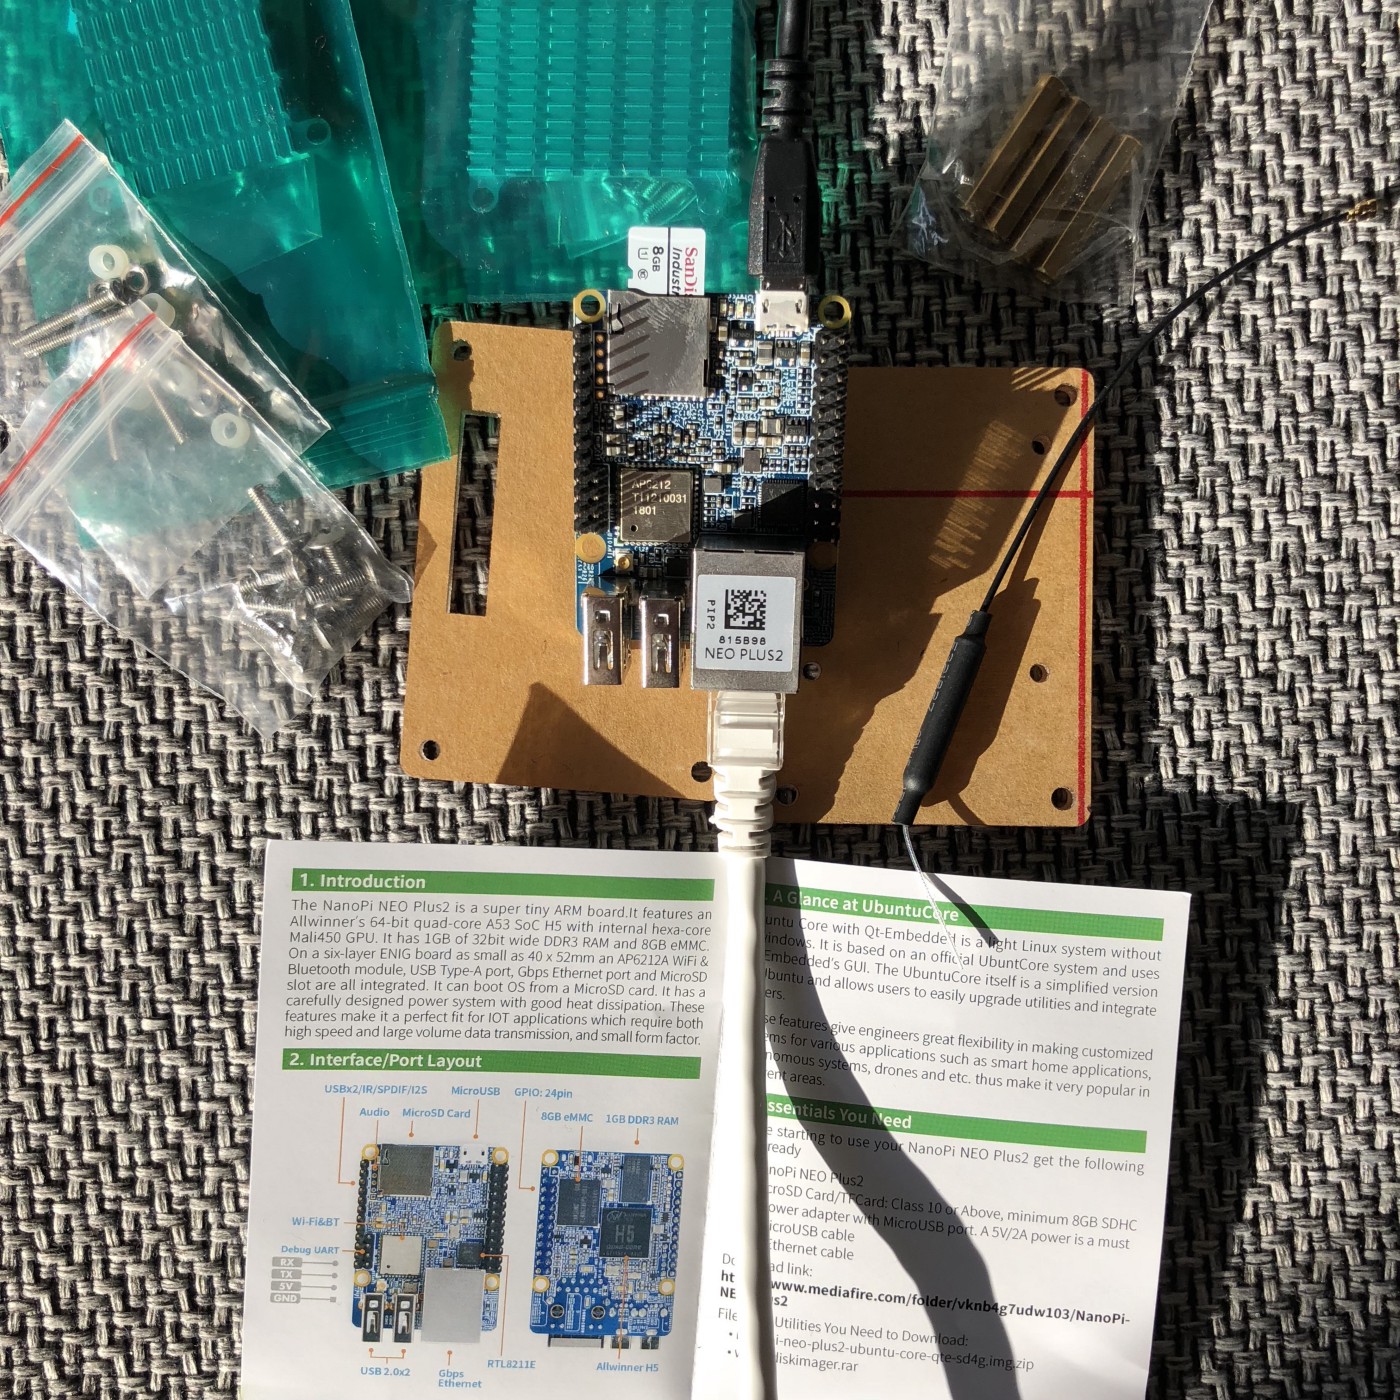 Nanopi. Don’t worry, you don’t need all the parts.
In case of the NanoPi the manual didn’t explain how to assemble it, but there are plenty tutorials out there.
For the Orange Pi you just need to attach the casing using a screws.
Khadas comes completely assembled:

Step 3— Create an image for your pi
It takes 3 weeks for the Nanopi to download the blockchain, 5 days for the Orange Pi, slightly less for Khadas. Rather than wait for that, we’re going to do all the initial heavy lifiting on your main computer. That computer uses more electricity for a reason.
First we’ll download the blockchain and reduce its size from 200 GB to about half a gigabyte so it fits.
We then use Armbian to (automagically) compile Linux for your device, install Bitcoin Core and optionally add a desktop. It then copies the blockchain and creates an image for your SD card.
Armbian needs a specific version of Ubuntu to work so — unless you already use Ubuntu 18.04 — we’ll make a virtual machine using Virtual Box. You could also use a machine in the cloud like Amazon AWS.
Finally we burn the image on an SD card, boot the pi, copy it to the eMCC memory, restart, and presto!
Before you complain this is too much work, just remember:
“If you wish to make an apple pie from scratch, you must first invent the universe” — Carl Sagan
Bitcoin Core
Download and install Bitcoin Core on your computer and wait for the full blockchain to sync. A few hints, if you open the Preferences:
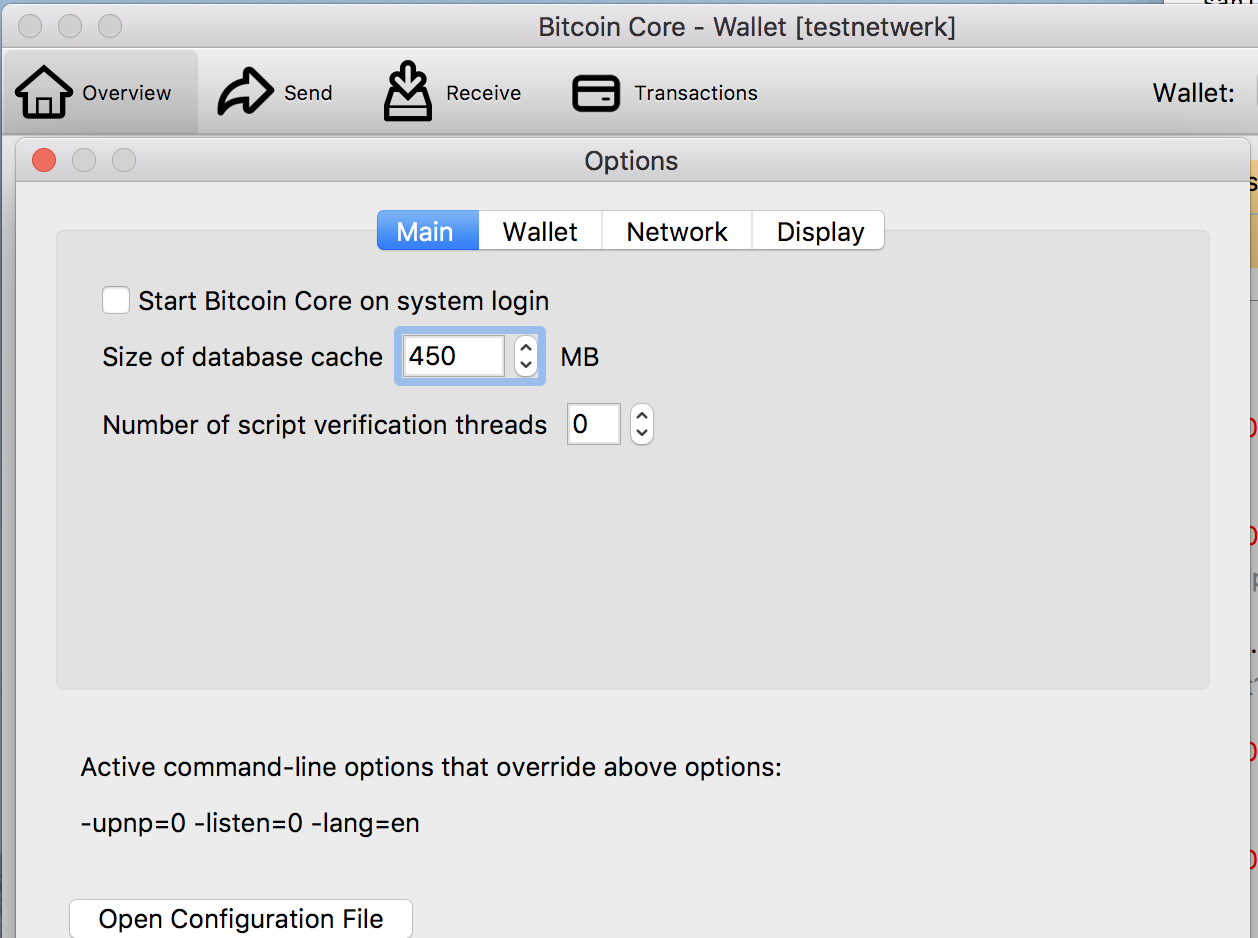
- set “Size of database cache” to 1 GB less than your RAM (though no more than 10 GB). This makes things a lot faster.
- click Open Configuration File and enter
`prune=1` - if you have less than 200 GB of free disk space, use
`prune=...`instead, with the amount in megabytes (UI coming soon). Make it as large as possible, but leave at least 50 GB free space. When you’re done, you can reduce it all the way to 2 GB .Unfortunately pruning does slow down the initial sync. - if you have an existing installation, make a copy of your bitcoin data directory (see below). Delete your wallet from the copy. If you don’t have space for a fully copy, you can also put this copy on a USB drive.
When it’s done, open Help -> Debug Window. Note the current block height, 529590 at the time of writing. Click on the console tab and enter: pruneblockchain 529590 . This deletes all earlier blocks.
Virtual box
Install Virtual Box for your operating system. If asked if you want Guest Editions, say yes. Download Ubuntu Server 18.04. In Virtual Box, click new, enter Armbrian as the name, select Linux from the list of operating systems and Ubuntu (64 bit) should already be selected.
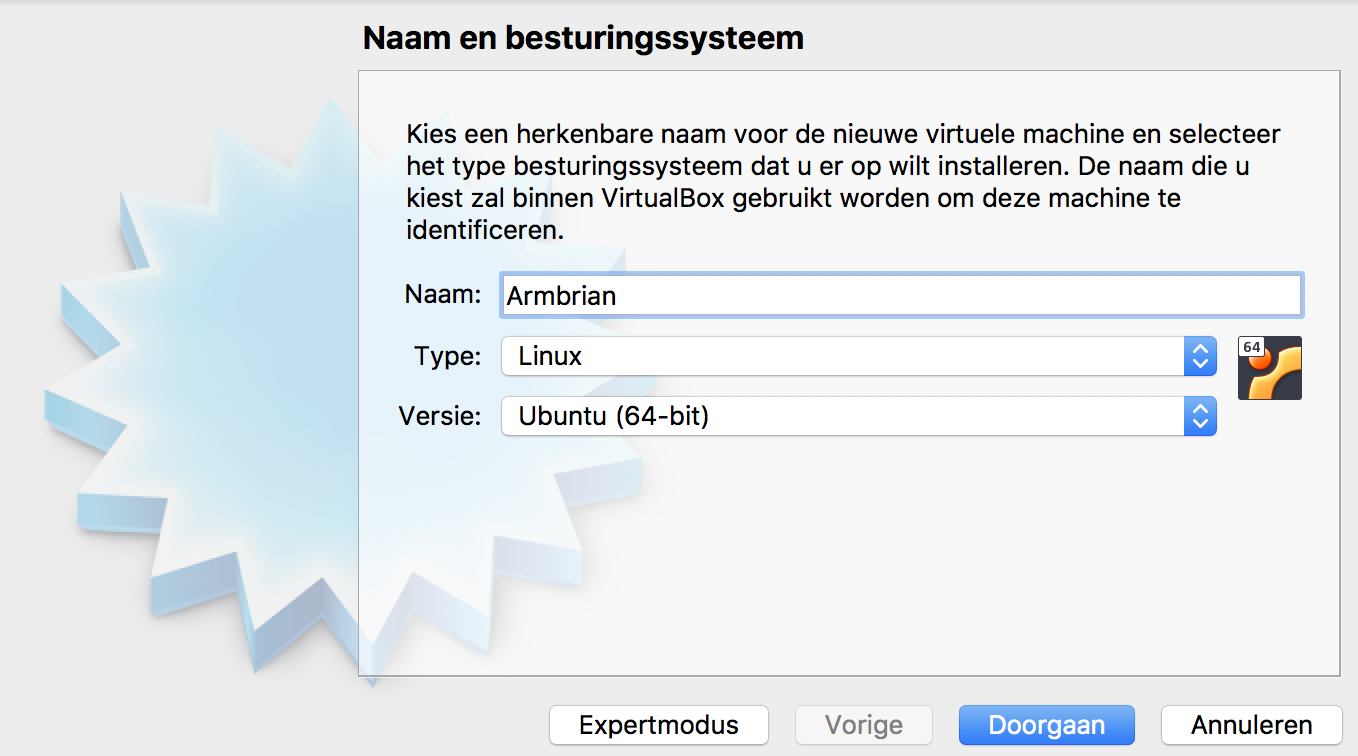
Sorry all the screenshots are in Dutch, but hopefully you get this idea.
Press next, skip the question about RAM (we’ll change that later), click next again to create a new virtual disk, select Fixed Size when asked and give it 30 GB.
Once the machine is created, right click on it and choose settings. In the System tab under Processor, give it as many CPU’s as you have, but limit them to 90% so your machine doesn’t freeze.

Under Motherboard, give it at least 4 GB RAM, or 2 GB for every CPU you have, whichever is more. Leave enough for the rest of your computer, bearing in mind that until the blockchain finishes downloading, Bitcoin Core also needs RAM.
In the Storage tab, it should show a CD icon that says “empty”. Click on it and select the other CD icon on the right, “choose virtual disk image” and look for the Ubuntu file you downloaded.
Now start the virtual machine and follow the installation, which is mostly a matter of hitting Enter, but there may be a few places where the default is No, to keep you alert. For your name, the hostname, username I suggest armbrian. After a reboot you should be good to go and you’ll see a login prompt.
Go to Devices menu -> Insert Guest Additions CD image. The script in the next section will need this.
If you prefer to login to your virtual machine via SSH, see this. Also note that you can right click on a machine to launch it headless, just don’t forget to turn it off (and you can’t insert the guest editions CD).
Armbian
Now it’s time for the good stuff. I created armbian-bitcoin-core to make things a lot easier. It also has a README, which should be kept more up to date than this blog post.
On the virtual machine:
git clone https://github.com/Sjors/armbian-bitcoin-core.git
./armbian-bitcoin-core/prepare-build.sh -g -b 32 v0.16.1
Select your pi device from the list, sit back and relax. This will take a while (add -j N where N is the number of CPUs). If all goes well, you’ll see something like:
[ o.k. ] Done building [ /home/armbian/build/output/images/Armbian_5.46_Nanopineoplus2_Ubuntu_bionic_next_4.14.48.img ]
[ o.k. ] Runtime [ 113 min ]
Put image on SD card
Use Etcher to put the resulting .img file on an SD card.
Copy from SD card to pi
Both the Nanopi and Orange Pi will boot from an SD card if one is inserted. The Khadas has a more complicated process involving a USB cable and potentially also a Windows (virtual) machine.
After boot, you’ll be greeted by a login screen. Your password is “bitcoin” and you’ll be required to pick a new one immediately. You can already enjoy Bitcoin Core, but it’s much faster to copy everything to eMMC memory first. Click on Applications -> Terminal Emulator.
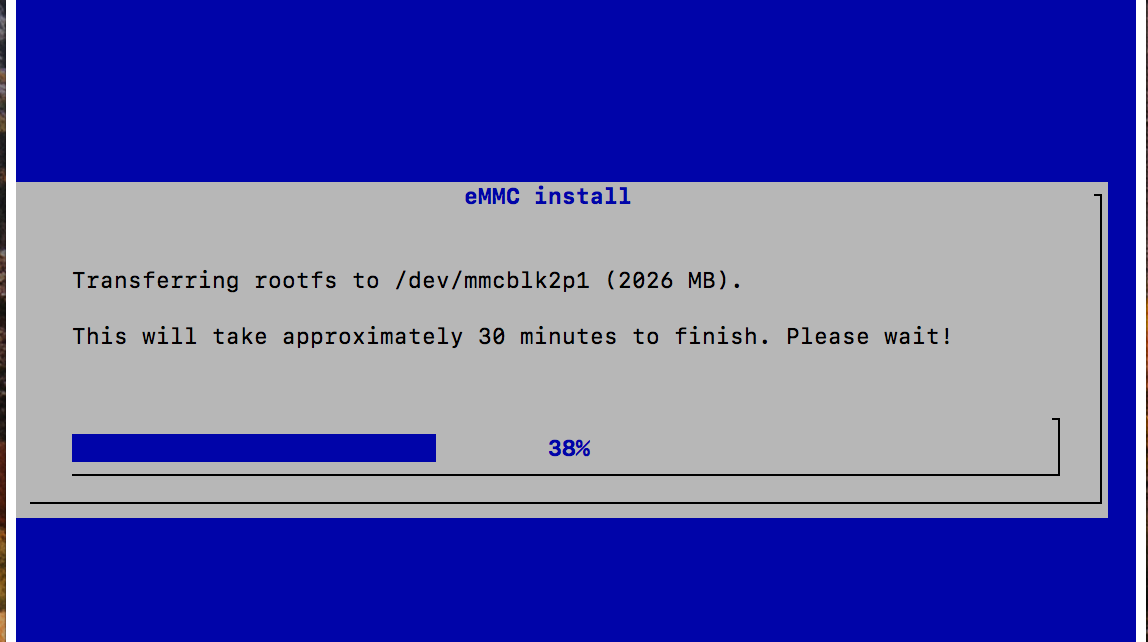
Enter: sudo nand-sata-install and say yes a few times. It will offer to shut down the machine when it’s done. Remove eMMC card from device and reboot (you may need to unplug the device).
Profit
Login again, double click on the Bitcoin Core icon and enjoy! I suggest leaving it running permanently as it will take quite long to catch up once it falls behind.
Bonus — Lightning
Add -l c to the prepare-build.sh command to install c-lightning. There’s no desktop app for that though and it still has some issues with pruned nodes, so this is quite experimental.